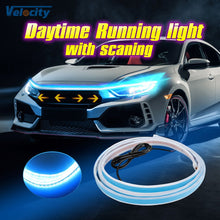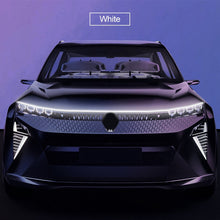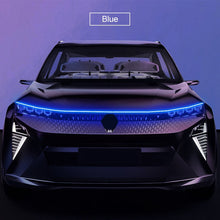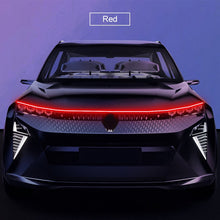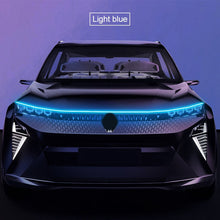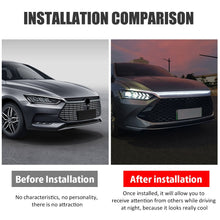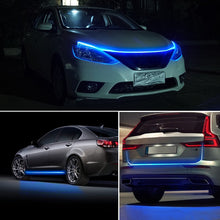
Flexible Auto Cutter Lights Decorative Ambient Neon Lamp 12v
Describe:
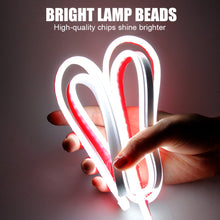
- Light source: LED
- Light colors: white/ice blue/blue/red
- Voltage: 12V
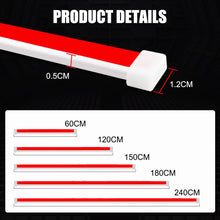
- Length: 150cm/180cm
Feature:
- Newly designed car decorative lights with start-up scanning function
- Side LED and corresponding hood design can provide you better lighting effect.
Installation tips:
- How to install the light strip
1. Apply double-sided tape to the two inner sides of the cover.
2. Fix the light bar on the double-sided tape.
3. Note: The cable position should be close to the windshield side, not close to the end of the central grille, otherwise it will affect the wiring and the normal opening of the hood.
- How to connect the wires?
1. The black wire is connected to the negative pole + the red wire is connected to the ACC = the engine starts to light up.
2. The black wire is connected to the negative pole + the red wire is connected to the DRL = turn on the DRL to light up.
3. The black wire is connected to the negative pole + the red wire is close to the light = the low beam is turned on.
4. The black wire is connected to the negative pole + the red wire is connected to the highlight light = the highlight light is turned on.
Notes:
1. Please allow 0.5-1 inch difference due to manual measurement. (1 inch = 2.54 cm).
2. Due to different computer screens, the actual color may be slightly different from the product picture, thank you for your understanding


